| |
| CLICK HERE FOR INDEX PAGE |
| |
| USING FELT PENS (1) |
| V. Ryan © 2002 - 2008 |
| |
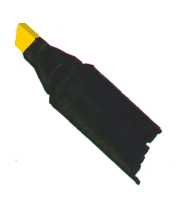
| Outlined below are the stages involved in producing a
colour rendered drawing of a craft knife. A selection of felt pen and
coloured pencil techniques have been used and they are presented one stage
at a time. The techniques used are relatively simple and can give quite
quick results. |
| |
| PDF FILE - CLICK HERE FOR PRINTABLE VERSION OF EXERCISE SHOWN BELOW |
| |
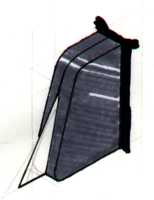
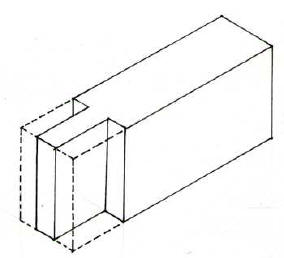
| 1. The style of drawing is decided - in this case a three
dimensional style called isometric drawing is adopted. The basic outline is drawn carefully with a pencil as any
mistakes can be corrected easily. |
 |
| |
|
|
|
| |
|
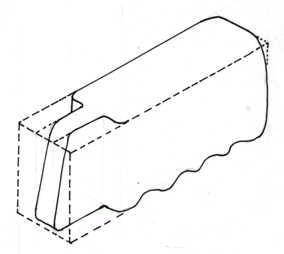 |
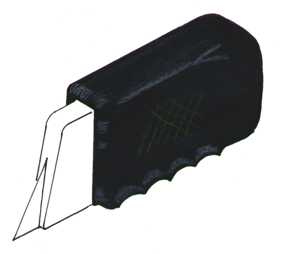
2. More detail is added such as rounding off corners and
adding the finger grips to the craft knife. A fine black ink pen is then
used to go over the pencil lines. |
| |
|
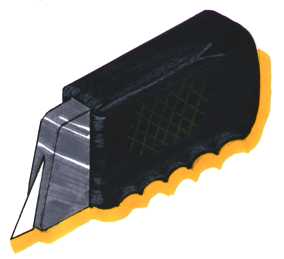
| 3. A slightly wide black ink pen is then used to go round
the inside of the drawing (in particular, the handle of the craft knife). |
 |
| |
|
|
| |