|
Below is a sample sequence drawing. Some of the stages of manufacture have been included. If a really detailed sequence drawing is needed, more stages can be added. For examination coursework, only a small number of the most important stages are required. However, remember to include 'quality control' as this should be applied to all manufactured products. |
||
|
|
||
|
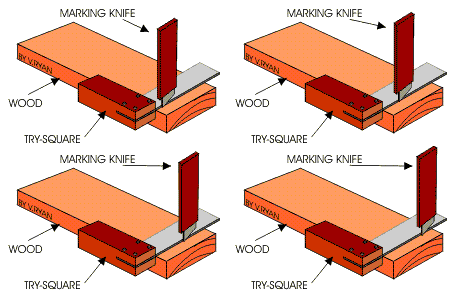
1. The materials are marked out using a range of tools including rulers, try squares and marking gauges |
|
|
|
|
||
|
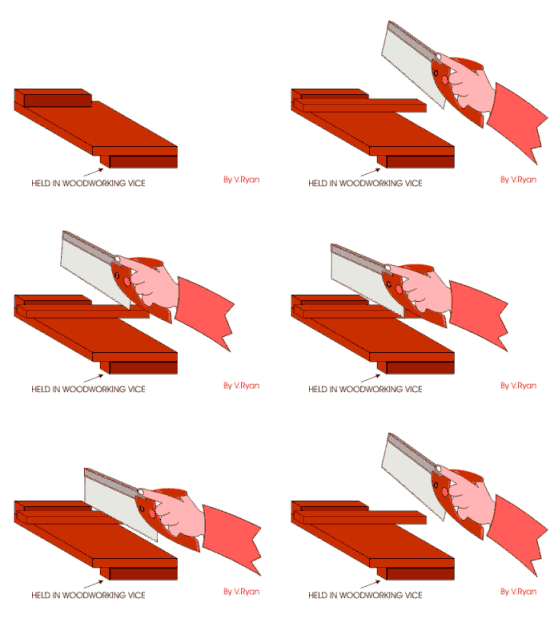
2. The materials are cut to size using fret- saws and hand saws. All measurements are checked before cutting |
|
|
|
|
|
|
|
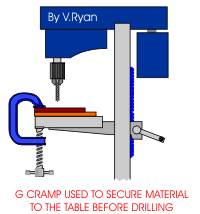
3. A machine drill is used to drill all the location holes. The material is carefully clamped so this can be done safely. |
|
|
|
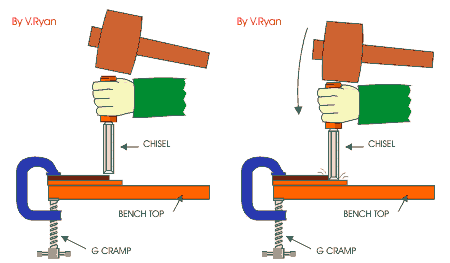
4. All joints are cut using tools such as chisels. Safety is considered and so all materials are held securely to the bench. |
|
|
|
5. Glue is applied to the joints and the materials are clamped together using sash clamps. These are held in position for twenty four hours |
|
|
|
6. The materials are cleaned up using glass paper and sanding machines and finished with varnish. Accessories are added and quality control carried out. |
|
|
|
|
||
