| CLICK HERE FOR INDEX PAGE | ||
PHOTOGRAPHING THE MANUFACTURE OF A BASIC CARD MODEL A SEQUENCE DRAWING OF MANUFACTURE - 2 |
||
| V. Ryan © 2013 | ||
 |
 |
|
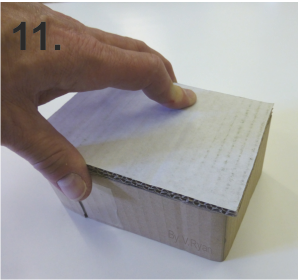
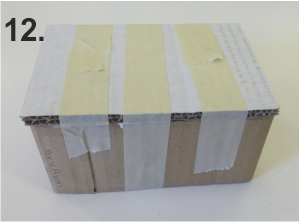
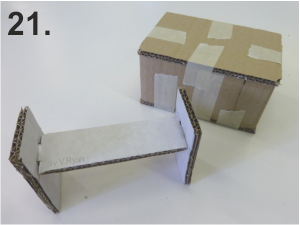
| The back is placed on the ‘box’, ready for securing with masking tape. | Masking tape is used to hold the parts together. | |
 |
 |
|
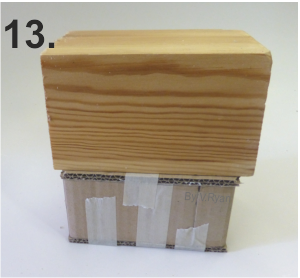
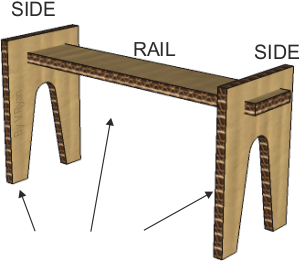
| A front is added and a weight is used to place pressure on the joint, until it glues permanently. | The legs will be made from three pieces of corrugated card | |
 |
 |
|
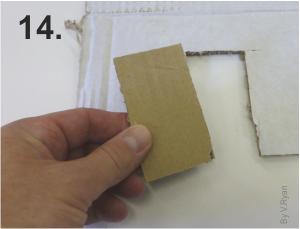
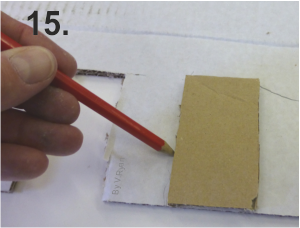
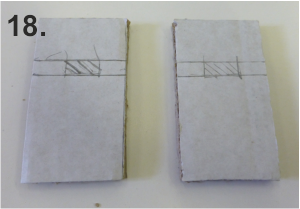
| The first side is marked out in pencil and then cut out of the card, using a craft knife. | The first side is used as a template and drawn round accurately. The second side is then cut out. | |
 |
 |
|
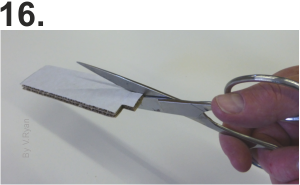
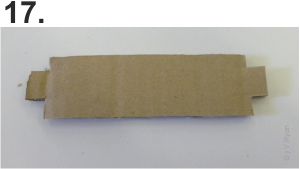
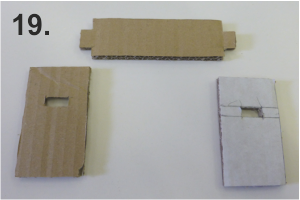
| The joint is cut on either end of the rail, using a pair of scissors. | Completed rail. | |
 |
 |
|
| The ‘mortise’ style joints are cut out of the sides, using a craft knife. | All three parts ready for fixing permanently together. | |
 |
 |
|
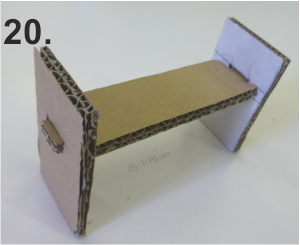
| PVA is used to join the three parts (two sides and a rail). | The basic parts are now complete. | |
 |
||
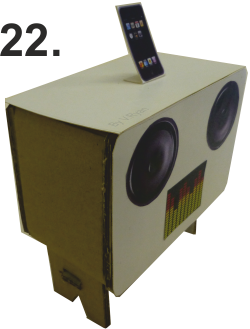
| Finished model, with white card added to the top and front. Images have also been printed out and added separately. | ||
| CLICK HERE FOR PREVIOUS CARD MODEL MAKING PAGE | ||
| CLICK HERE FOR DESIGN PROCESS INDEX PAGE | ||