| CLICK HERE FOR INDEX PAGE | |
| HOW A REBATE JOINT IS MARKED OUT AND CUT | |
| V. Ryan © 2003 - 2022 | |
| PDF FILE - POSTER - HOW TO MARK OUT AND CUT A LAP / REBATE JOINT | |
|
|
|
|
|
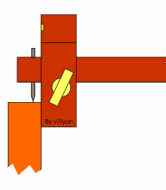
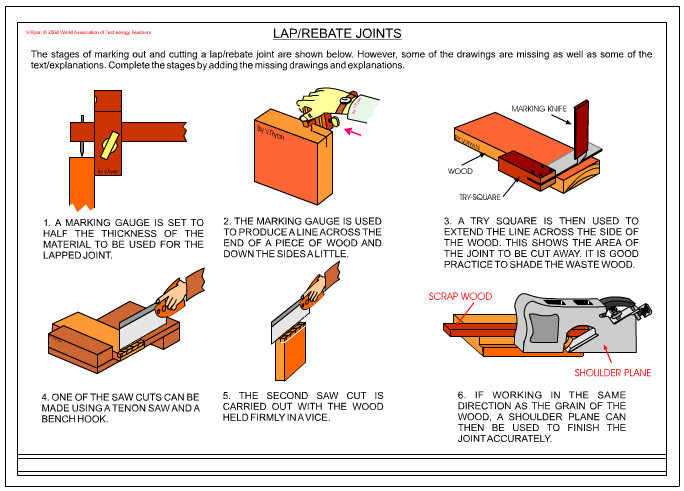
A marking gauge is set to half the thickness of the material to be used for the lapped joint. |
|
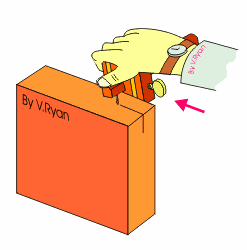
The marking gauge is used to produce a line across the end of a piece of wood and down the sides a little. This can be difficult to see, so a pencil can be used to highlight the gauged line. |
|
|
|
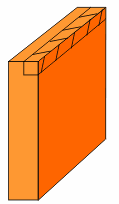
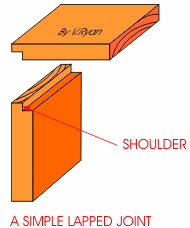
A try square is then used to extend the line across the side of the wood. The marking out should look like the diagram below when completed. This shows the area of the joint to be cut away. It is good practice to shade the waste wood. |
|
|
|
|
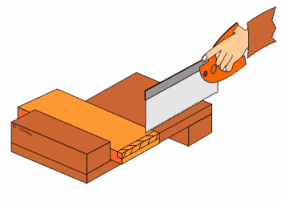
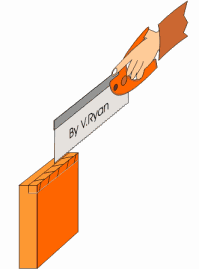
One of the saw cuts can be made using a tenon saw and a bench hook. Normally the wood is clamped down so that it is less likely to move during sawing. |
|
|
|
The second saw cut is carried out with the wood held firmly in a vice. |
|
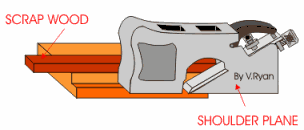
If working in the same direction as the grain of the wood, a shoulder plane can then be used to finish the joint accurately. Scrap wood is clamped down on top of the joint and it is used to guide the plane. |
|
|
|
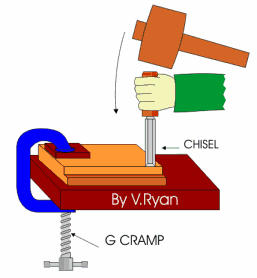
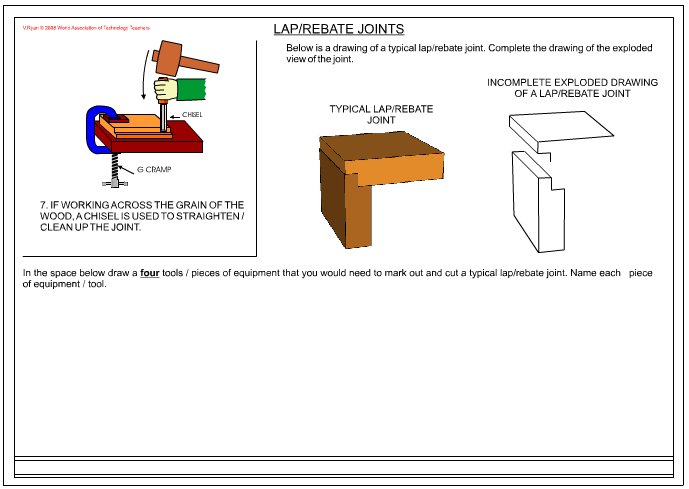
If working across the grain of the wood, a chisel is
used to straighten / clean up the joint. The wood should be G-clamped to
the bench with scrap wood placed underneath. This ensures that the
chisel is less likely to slip. If the chisel does slip then it will not
damage the bench as it will hit the scrap wood. |
|
|
|
| PDF FILE - CLICK HERE FOR PRINTABLE VERSION OF EXERCISE SHOWN BELOW | |
|
|
|
|
|
|
|
QUESTIONS: |
|
|
|
|