| CLICK HERE FOR INDEX PAGE | |
| SOLDERING TECHNIQUES | |
| V. Ryan © 2002 - 2022 | |
| PDF FILE - CLICK HERE FOR PRINTABLE WORKSHEET | |
| Soldering is the only permanent way to ‘fix’ components to a circuit. However, soldering requires a lot of practice as it is easy to ‘destroy’ many hours preparation and design work by poor soldering. If you follow the guidelines below you have a good chance of success. | |
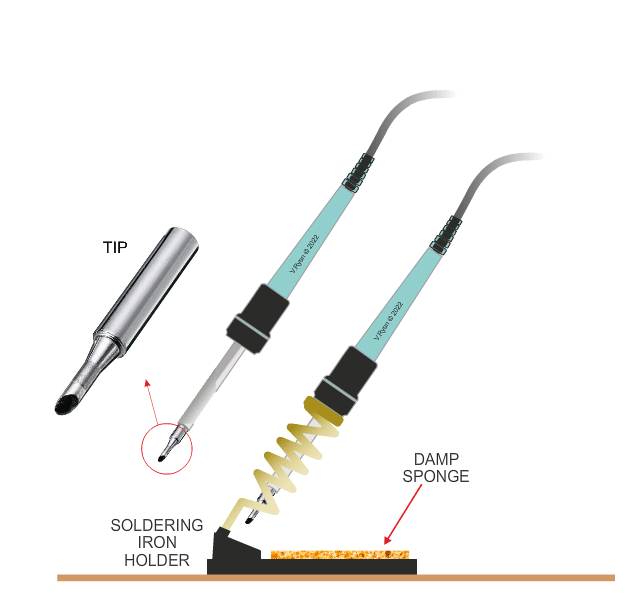
| 1. Use a soldering iron in good condition. Inspect the tip to make sure that it is not past good operation. If it looks in bad condition it will not help you solder a good joint. The shape of the tip may vary from one soldering iron to the next but generally they should look clean and not burnt. | |
 |
|
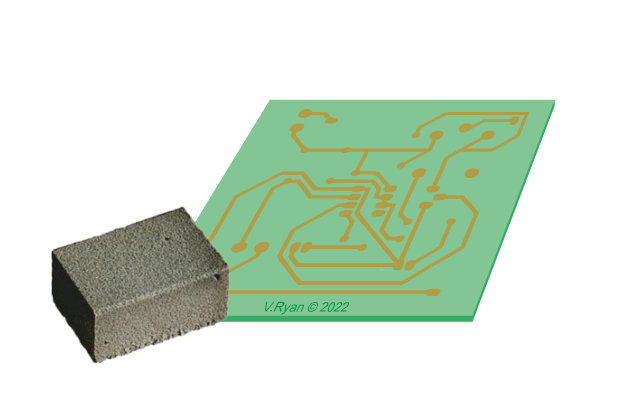
| 2. A PCB eraser is used to remove any film from the tracks of the drilled printed circuit board. This must be done carefully because the film will prevent good soldering of the components to the PCB. The tracks can be checked using a magnifying glass. If there are gaps in the tracks, sometimes they can be repaired using wire but usually a new PCB has to be etched. | |
 |
|
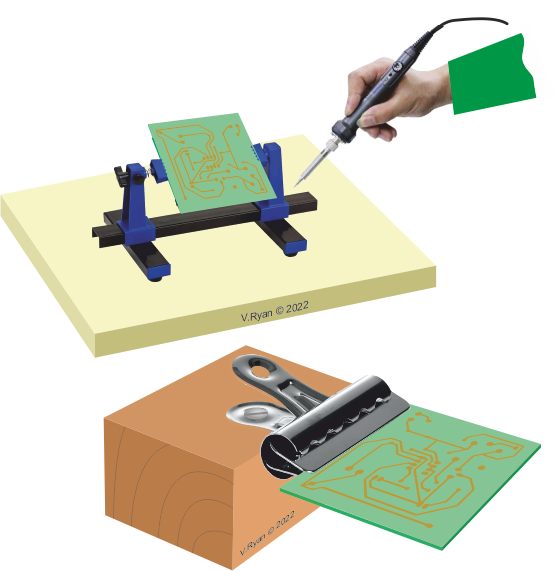
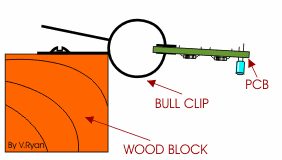
| 3. Place the PCB, with its components in position, in pcb holder or a homemade block and bull clip. This will steady the PCB when you try to use the soldering iron. | |
 |
|
 |
|
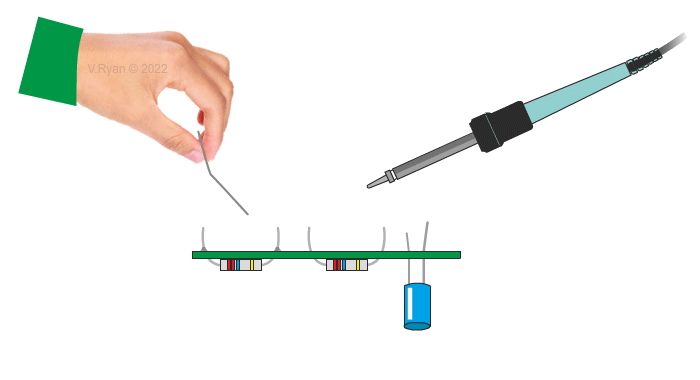
| 4. The heated soldering iron should then be placed in contact with the track and the component and allowed to heat them up. Once they are heated the solder can be applied. The solder should flow through and around the component and the track | |
 |
|
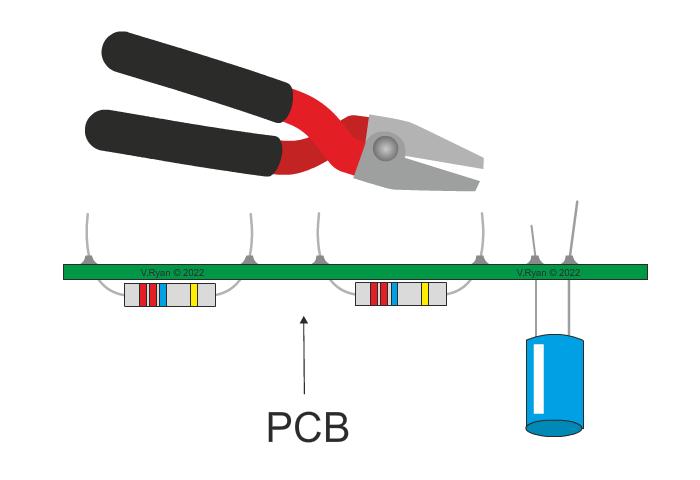
| 5. Having completed soldering the circuit the extended legs on the components need to be trimmed using wire clippers. The circuit is now ready for testing. | |
 |
|
| 1. Describe the stages
involved in the soldering process - include simple diagrams.
2. Explain the safety precautions needed when soldering. |
|
|
|
|