A straw bridge can be made quite easily, without the use of a jig, if care is taken.
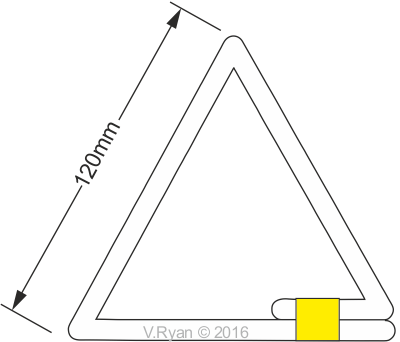
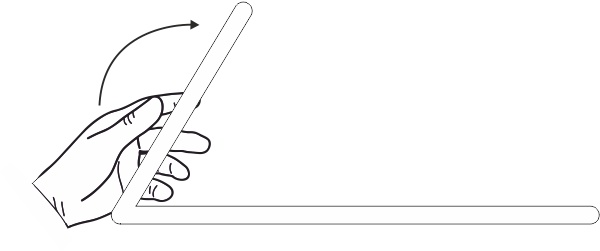
Take a 300mm long (6mm dia) art straw and fold it into a triangle. To do this, measure 3 X 120mm along the length of the straw, marking the distance with a pencil. Then, carefully fold it by hand. There should be a small amount of ‘spare’ art straw which will become an ‘overlap’, that can be sellotaped to the triangle’s base.
Consider pupils working in pairs, to build a bridge from art straws. The YouTube video below is a really good introduction to bridges and especially triangulation. Watch the video as a starter and follow it by questions. Then follow the links to two webpages, which give all the instructions pupils will need to build a triangulated bridge. Then test the bridges with weights. Good luck.


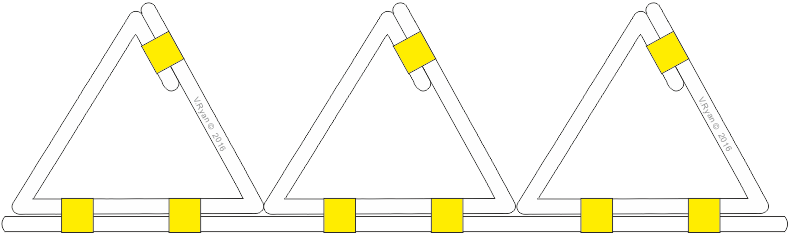
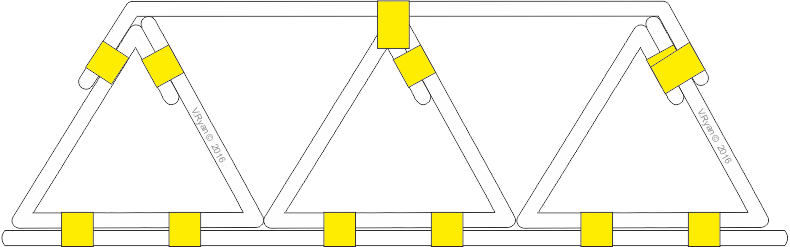
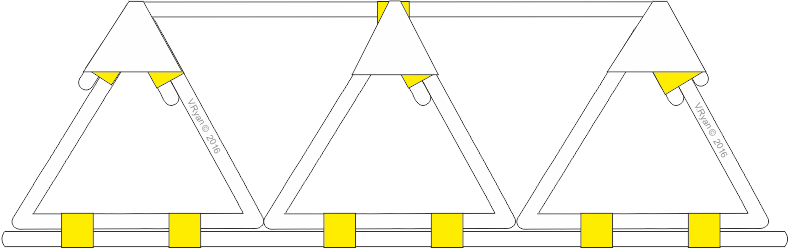
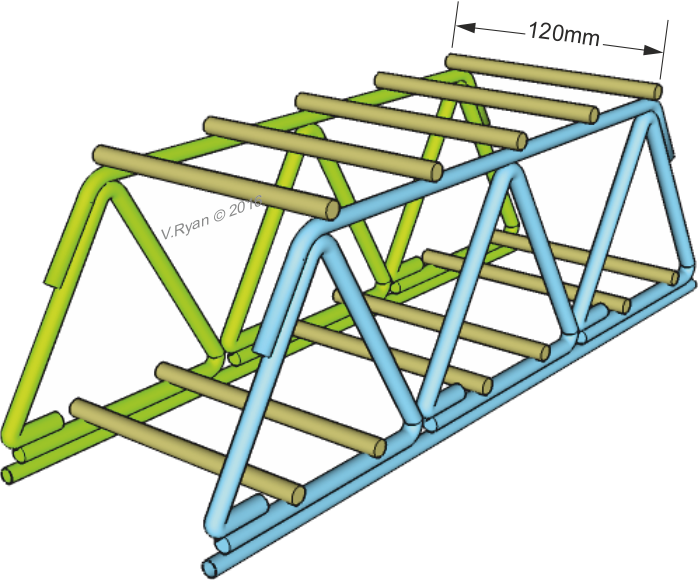
Make a second side and join both together with straws (120mm in length).
The diagram below, shows the straws as different colours. This is to make it easier to distinguish between the various parts of the bridge.