| CLICK HERE FOR INDEX PAGE | ||
PHOTOGRAPHING THE MANUFACTURE OF A BASIC CARD MODEL A SEQUENCE DRAWING OF MANUFACTURE - 1 |
||
| V. Ryan © 2013 | ||
|
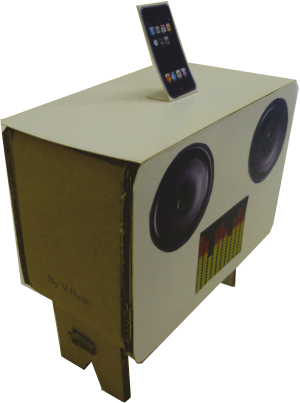
Photographing every stage of making a model, is a good start to producing
an accurate sequence drawing. The following sequence drawing, clearly shows each stage of making the model and can be used as a guide for making the next model. A sequence drawing should be included in a design portfolio. There are often two, the first showing model making and the second showing the manufacture of the actual final product. |
||
 |
||
 |
 |
|
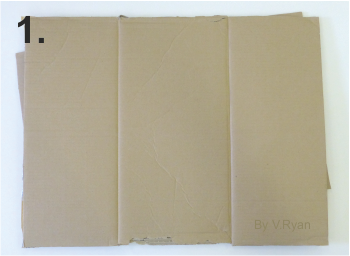
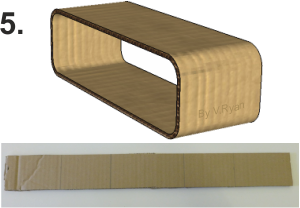
| Select a section of corrugated card, large enough for the model being made. | Remove any damaged / crushed card. | |
 |
 |
|
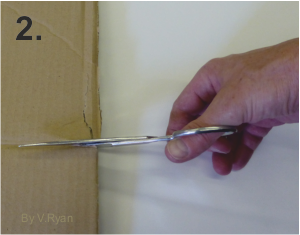
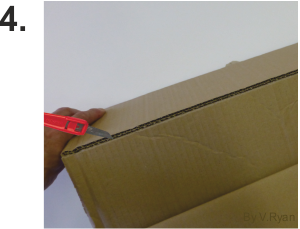
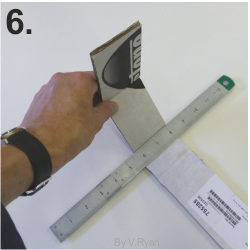
| Using a craft knife and cutting mat, cut the card into suitable lengths and widths. A steel ruler / safety ruler is used to guide the craft knife safely. Do not use a plastic ruler. | Having used a craft knife to cut the card, fold the card carefully to reveal any sections that are still joined / attached. If necessary , cut again with a craft knife. | |
 |
 |
|
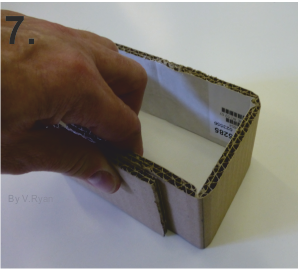
| The main strip is cut to size. It will eventually form the main body of the model. | Folds are made by ‘folding’ against a steel ruler, ensuring a straight edge. | |
 |
 |
|
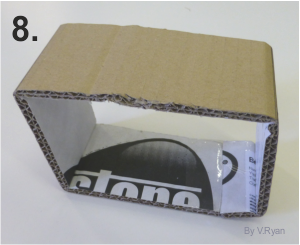
| Edges are over lapped and the cut to length so that they meet accurately. | Sellotape is used to join the ‘box’ shape. | |
 |
 |
|
| CLICK HERE FOR NEXT PAGE OF CARD MODEL MAKING | ||
| CLICK HERE FOR DESIGN PROCESS INDEX PAGE | ||